
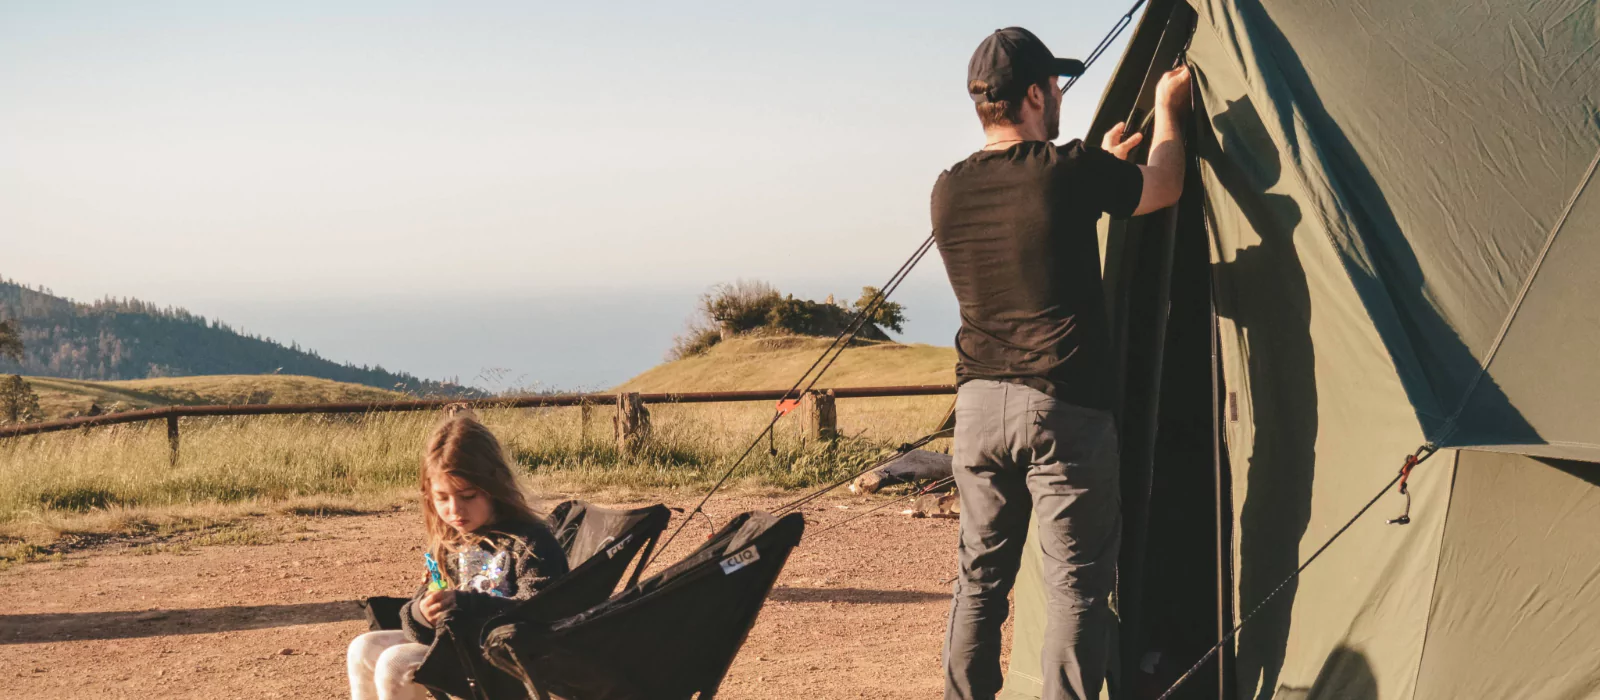
When camping, your canvas tent is your sanctuary. It provides shelter and comfort, and a place for your belongings. Because your tent gets such consistent use, it will inevitably wear out. One of the first places you will see wear and tear is in areas covered by mesh. Tears, holes, and loose seams are all common damages that allow insects to come into your tent, reduce ventilation, or invite debris. Tent mesh repair is relatively easy, though. This guide will take you through the repair process step-by-step so that your tent is as good as new on your next adventure.
Table Of Contents
- Tools and Materials Needed
- Tent Mesh Repair Kit
- Mesh Fabric or Screen Patch
- Tent Repair Tape
- Needle and Thread
- Scissors
- Clean Cloth or Wet Wipes
- Measuring Tape or Ruler
- Clips or Pins
- Step-by-Step Instructions for Tent Mesh Repairs
- Step 1: Assess the Damage
- Step 2: Clean the Wound
- Step 3: (For Large Tears) Trim the Edges
- Step 4: Prepare the Mesh Patch
- Step 5: Apply the Patch
- Option A: If you choose to use tent repair tape
- Option B: Mesh Patch + Sewing Kit
- Step 6: Test Your Work
- Step 7: Maintenance
- Wrapping Up…
Tools and Materials Needed
Before you begin fixing your tent mesh, gather the necessary tools and materials. It’s a good idea to keep these items with your camping gear for future use. You can easily find most of them at outdoor stores or online.
Tent Mesh Repair Kit
Many outdoor retailers sell a complete mesh-specific repair kit designed for canvas tents. These typically include patches of mesh fabric, fabric adhesive, and even needle and thread in some cases.
Mesh Fabric or Screen Patch
If your repair kit for some reason doesn’t come with extra mesh fabric, you can purchase it separately. It’s important to use fabric similar to the original mesh if you want your repairs to last. Ripstop nylon is a common one.
Tent Repair Tape
Tent repair tape such as Seam Grip is specifically designed for outdoor gear. This stuff is super handy if you aren’t a seamstress or just don’t have the time to sew the mesh. Repair tape provides a quick, reliable, no-sew solution.
Needle and Thread
If using a fabric patch, you’ll need a needle and thread. Not just any thread, though– try to go for UV-resistant nylon if you can. Whatever thread you choose should be strong enough to withstand harsh outdoor conditions.
Scissors
Sharp scissors and fabric shears are necessary for cutting the mesh fabric to the appropriate patch size. Even if you get a kit with a pre-cut patch, you might still need to make some adjustments.
Clean Cloth or Wet Wipes
Before beginning your repair, be sure the area around the tear is clean to allow for best adhesion. To do this, you’ll want to wipe the area you plan to patch or tape with a clean cloth or a wet wipe. They’re both just great to have on hand in general when camping.
Measuring Tape or Ruler
If you’re a perfectionist like me, you’ll want a measuring tape or ruler to make sure that your patch is the right size. It’s also helpful to take measurements to make sure your mesh patch is centered.
Clips or Pins
Pins or clips are great for securing the mesh in place while you fasten it with tape or needle and thread. You only have two hands, after all!
Step-by-Step Instructions for Tent Mesh Repairs
Step 1: Assess the Damage
First things first, you will need to get a good look at what you have to fix. Carefully assess the extent of the mesh damage by looking for the following:
- Holes or punctures: The smaller these guys are, the easier they are to repair with a patch.
- Rips or Tears: Larger tears require more attention, and may need more complex reinforcement.
- Loose or Fraying Seams: While you’re in there, you may as well make some preventative repairs. Fraying or loose seams can cause bigger problems later, so go ahead and sew them back into place.
Once you have identified the damage, it’s time to make a decision. You’ll have to make a choice to attempt to repair yourself or take your tent to a professional. For small to medium repairs, DIY is totally within reason.
Step 2: Clean the Wound
As with any injury, it’s essential to clean the area around the damage before you start to fix it. Dirt and debris around the torn mesh can interfere with stitching and adhesive, causing the patch or tape to fail. Use a clean cloth or wet wipe to gently wipe away any dust or dirt before you bandage your tent.
Step 3: (For Large Tears) Trim the Edges
If the damage is extensive enough to involve a large tear or ragged edges, use scissors to trim the edges. This creates a clean, even border to work with. It also helps make sure that the patch or repair tape will stick. If there are loose strands of fabric untrimmed, they may continue to fray.
Step 4: Prepare the Mesh Patch
If you plan on using a mesh patch to repair the damage, be sure to accurately measure the size of the tear. Cut a patch to a size that is slightly larger than the hole. It’s important that the patch overlaps the hole by at least 1-2 inches on all sides– that way the damage won’t spread.
If you are using a new screen or different piece of mesh fabric, make sure it matches the original as closely as possible. Ripstop nylon is available for purchase at most outdoor equipment stores. It’s a great option for DIY repairs since it’s durable and resistant to further tears.
Step 5: Apply the Patch
Option A: If you choose to use tent repair tape:
If you went with a no-sew solution, follow these instructions:
- Cut the Tape: Trim a piece of repair tape to a size slightly larger than the tear itself. Don’t forget to round the corners of the tape to prevent peeling at the edges.
- Apply the Tape: Position the tape over the tear, ensuring that it fully covers the hole. Press down firmly, and smooth out any wrinkles or air bubbles. Hold it in place for up to 30 seconds, making sure that the tape extends past the tear on all sides.
- Secure the Edges: If the tape is not sticking or if the mesh is clearly overstretched, you might want to apply additional pressure or heat to the area. Some tapes (like Seam Grip which we mentioned before) work better when lightly heated. Check the tape manufacturer’s instructions for specifics or warnings.
- Allow to Set: Leave the tape alone to cure for a few hours to ensure that the bond is strong enough to hold. Again, refer to manufacturer instructions for the exact time frame and best practices.
Option B: Mesh Patch + Sewing Kit
If you prefer a needle and thread to tape or adhesive, we’re here to help walk you through the process of sewing a new mesh patch onto your damaged tent.
First, you’ll want to place the mesh patch over the damaged area (ok, Captain Obvious), but the patch should extend past the edges of the damaged spot by at least 1-2 inches. If you have some handy, use safety pins to hold the new patch in place until you can get it sewn on. To sew, use a running stitch or whip stitch–keep it simple. Make sure that your stitches are firm but not too tight so you don’t damage the new mesh.
Once you’ve got the first layer of stitches around the perimeter of the new patch, go back and sew over those again for extra strength. As with any sewing project, don’t forget to tie off the ends of your thread when you’re done.
Step 6: Test Your Work
Check your patch to make sure there aren’t any gaps between your stitches, the mesh patch, and the surrounding fabric. Then, gently test your repairs by carefully pulling on the fabric around the patch to make sure you can’t see or hear any tearing.
If you used adhesive or tape, test your work only after letting the patch set up for several hours.
Step 7: Maintenance
After all your hard work to make repairs to the tent, it’d be a crying shame not to take good care of it. Proper maintenance begins with regular waterproofing treatments to not only the repaired areas but the entire tent. Every few months, use a silicone or polyurethane spray to coat the entire tent surface, paying special attention to the repaired areas. You’ll be thankful you stayed on top of waterproofing when you wake up dry as a bone after a summer night rainshower.
Be extra mindful of the repaired areas whenever you do use your tent. Try not to stretch the mesh, and keep your tent accessories clear of damaged/repaired areas.
In the months (or years) following repair, don’t forget to inspect your patch regularly. Staying on top of any wear and tear will help keep you from having to do extensive repairs to your tent over and over again.
Finally, when you aren’t using your tent, make sure it’s stored in a cool, dry place safe from harsh sunlight. UV rays can easily break down tent materials, especially those that are vulnerable to past damage.
Wrapping Up…
We completely understand how daunting solo repairs to tent mesh can seem. However, with the right tools and by following the careful instructions we just went over, rest assured that this process can actually be pretty simple and straightforward. Whether you choose tent repair tape for a quick fix in the field, or take time to sew a new mesh patch on, you’ll be more than ready to rock and roll like nothing happened on your next adventure. And remember, good maintenance practices are absolutely essential for tent longevity. If you take good care of your tent, it’ll take care of you for years to come. No more bug invasions, water drippage, or unwanted cold drafts seeping in–replace your torn-up mesh confidently today. We believe in you. Happy camping!





No Comment! Be the first one.