
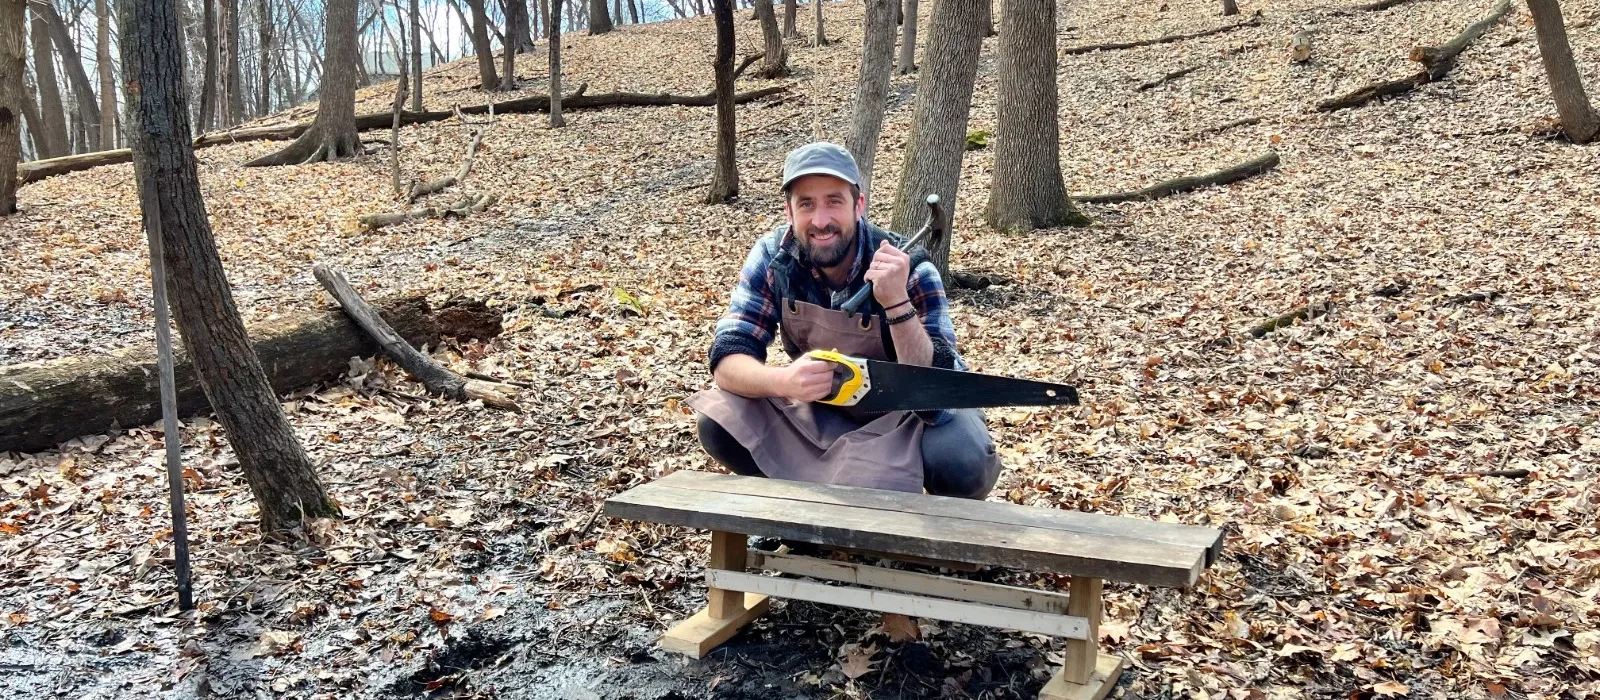
In the sparse forest near the little cabin in the woods, the snow has melted, the temps are rising, and leaves from last fall litter the ground. It’s officially springtime, and with the new season comes a new set of adventures and activities. Jack points out the beautiful day and notes that one of the best aspects of springtime is the bonfire. It’s the perfect time of year for him and all of his friends to come out of their winter hibernation and finally get back to outdoor socializing. The firepit is ready, there’s fallen wood all around them in the forest, and the only thing Jack really needs is more seating to accommodate his many friends who will show up.
Table Of Contents
To serve these purposes, Jack is going to DIY a wooden bench. The idea is to make it about five feet long and fit around the fire, where two other wood benches already lie. That way, Jack has provided plenty of seating space with three benches, but in the fourth area around the fire, there’s also plenty of room to stand. This is a good idea, particularly around a campfire. Legs can get hot sitting in front of the fire in the same position, and it’s nice to just get up and stretch. So, let’s see what Jack has outlined for today.
The Right Tool for the Job
Depending on experience or general handiness, there are a lot of different tools to use to make a wooden bench. For this purpose, Jack is keeping it pretty basic with a handsaw (not battery-powered or electric today) and a hammer and nails. In performing any outdoor construction task, but especially carpentry, it’s a good idea to keep a tool belt or work apron on you. This keeps all your nails, hammer, tape measure, straight edge, level, and anything else you can think of, right within grasp. White Duck makes an awesome canvas apron that is durable, has plenty of pockets for storing gear, and loops for hammers and such. Not to mention, when you get the wood chips or sparks flying, the thick canvas material will protect your layers underneath.
Not for nothing, it’s also a good idea to keep a canvas apron on when cutting wood. Even master wood choppers miss their strike now and then. If a person gets distracted and flails a hatchet toward their shin, it can mean an immediate trip to the ER. With a canvas apron, the same hit will more than likely just bruise the person’s leg. Will it hurt? Yes, definitely. But in most cases, it won’t break skin. That’s a lot of peace of mind when deep in the woods.
The Materials Needed
For a DIY bench, there’s no need to go out and purchase premium lumber. This bench is going to be out in the elements, rained and snowed on, knocked over, and otherwise treated pretty roughly. For this, Jack has some extra wood lying around that makes up a great list of materials. Behind the little cabin in the woods, he finds the following:
- 2×4, about 5 feet long (1)
- 2×6, about 8 feet long (1)
- 1×2 about 8 feet long (1)
This bench isn’t going in a museum, so for today, Jack is going to sort of eyeball lengths. For these intents and purposes, that will do just fine. Right now, these are all rough lengths. The next thing Jack has to do is cut everything to length.
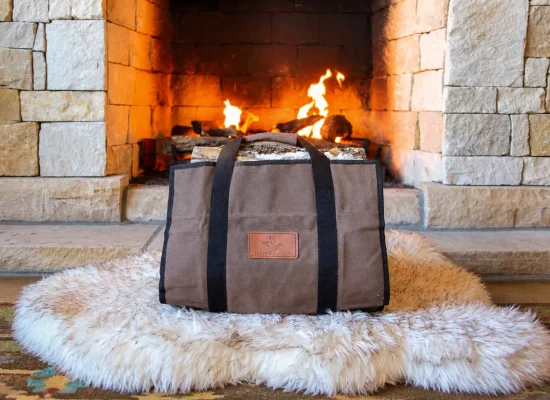
Jack has to haul all this wood from the back of the little cabin in the woods to the workspace out front by the firepit. A good idea is to either get a canvas tarp or a plastic tarp to assist with this project. If Jack really wants to put some good products to use, White Duck also makes an awesome canvas log carrier. It may be designed to haul logs from the forest to the fire, but it can be employed for myriad other uses.
For the 2×6, Jack is roughly cutting that in half. This will account for the seat proper of the bench. He makes sure that he doesn’t cut it too short on one side. He’s being careful not to leave one long piece and one shorter piece for the seat section. This could cause some serious discomfort or limit the seating on the bench when it’s complete. To do this, Jack makes the first cut, then simply lays the cut board on top of the remaining piece of 2×6, makes that length, and cuts the second piece to size. This is an easy way to ensure both pieces are the same length.
To cut the legs, Jack uses the same technique as cutting the lengths for the seat. He decides the height of the legs and then cuts the first leg out of the 2×4. He repeats the process of using the cut piece to measure the other lengths of the legs, again, to ensure they’re all the same length. This technique works great, and now Jack has his legs.
It’s all Coming Together
Now that Jack has cut the basic pieces to his desired length, he can begin putting everything together. To do this, Jack uses one of the other pre-assembled benches as a workbench. He fits the two 2×6 pieces together, their long sides pressed to one another. To join the pieces, Jack uses the leftover piece of 2×6 and places it over the seam between the two cut boards. He then hammers a few nails into each side of the joint piece, making sure to secure both pieces of wood to the joint piece.
To secure the legs, Jack pre-hammers a nail through the top of the 2×6. Once the nail is slightly protruding through the back side, the bottom hammer the leg into the nail, then continue to drive the nail all the way into place. He does this with two nails in each leg, and two legs on the bottom of the bench. As it stands, the two legs are only held in by nails and are a little wobbly. But Jack has a plan for this.
Jack returns to the remaining 2×4 and cuts off a length he’ll use to secure the bench legs. One major problem that can happen with a good DIY bench, and particularly using 2x4s for legs, is that the legs can sink into the wet, muddy ground. To prevent this, Jack is squaring off the legs with a flat piece of 2×4 on the bottom. This will also provide some sturdiness for the bench to keep it from tipping over backward or forward.
For the last bit of support, Jack uses the 1×2 to brace both legs together. He’s able to do this by just eying the distance between the legs and making a small notch on the 1×2. He cuts two lengths of this board and makes sure they fit. In only a moment, the braces are secured in place and the bench is finished.
The Fruits of Labor
Jack has taken a few pieces of wood lying around the little cabin in the woods and crafted a useful bench. It looks great around the fire and is another complementary seat for guests at the campfire. Upon first glance, the bench might not look like much. The wood is old, mismatched, and its rudimentary design isn’t exactly built for longevity. But this bench and this project serve other purposes.
It is true that anyone can go out and buy the latest technology, the most lightweight, or the sleekest design. There are great products out there, and they are fantastic. But there is something to say for crafting an original piece of furniture, creating a painting, or just making anything. The act of creating is out there for everyone. And at the end of the day, Jack gets to claim that he built something, he gets to look outside of the little cabin in the woods and see something from his own hand. Building anything comes with an intrinsic value. As soon as Jack is done building the bench, he also creates a story. When his friends come to sit around the fire, and they ask about the bench, he has an opportunity to tell his story. A nice bench. A good story. And a place to sit. What else could Jack ask for?
Jack is a good steward of the forest. He’s not cutting into green limbs and trees. Instead, he wanders the forest picking up fallen sticks and breaking dry limbs off dead trees. This wood will burn more easily and hotter than green wood. This is a perfect opportunity to again use the canvas log carrier. Gathering all the wood around the camp can be made super easy with a log carrier.
After the bench is built and the wood is gathered, Jack gets a quiet moment of reflection sitting in front of a nice spring fire. It’s not too cold out, and the sun is still shining. But with the early-season temps, it’s nice for a little burner in the forest. It’s a peaceful scene, and Jack is enjoying the fruits of his labor. It wasn’t a difficult job, but a rewarding one.



No Comment! Be the first one.